October 19, 2023
Rack Attack Team
Want to bring your e-bike on your next trip but not sure how to put it on your car safely? As your local adventure experts at Rack Attack, we've got you covered. In this guide, we'll show you how to safely load your electric bike onto your vehicle, with step-by-step instructions. Whether you're new to electric bikes or just need a refresher, read on to ensure your next ride starts smoothly.
Choosing the Right e-Bike Rack
You've just invested in a new e-bike and now you want to make sure you've got the right bike rack to transport it safely and reliably.
Various options are available on the market after a surge in electric bikes in recent years. We do recommend visiting one of our Rack Attack stores with your bike to test the fit with one of our display racks.
We selected four models from Thule, Kuat, and Yakima. We based the selection on three factors: ease of use, weight capacity, and universal compatibility. For a new e-bike rack, check out the full details here.
Key aspects to keep in mind:
- Weight capacity & specs: The main difference between e-bike racks and regular bike racks is the weight capacity, often tire size and wheelbase measurement. Electric bikes can weigh upwards of 60 pounds so you'll need to ensure the rack you choose can carry it. Check if your bike's tire width and wheelbase match the maximum width and wheelbase allowed by the rack.
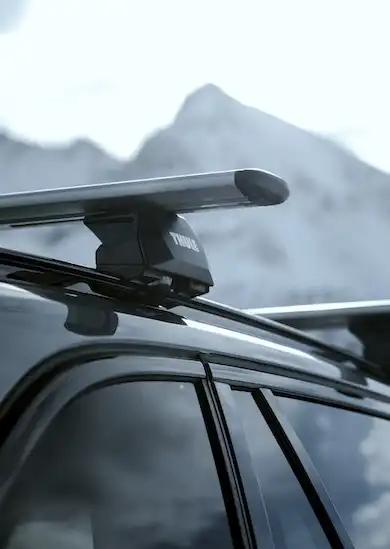
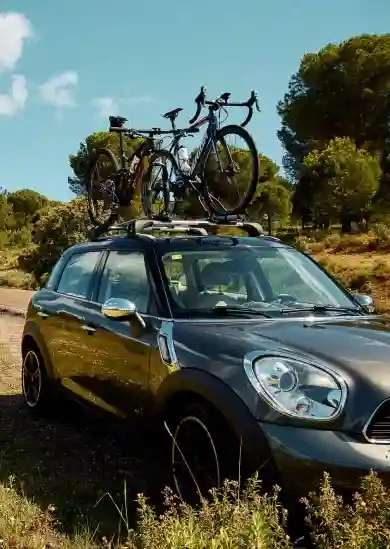
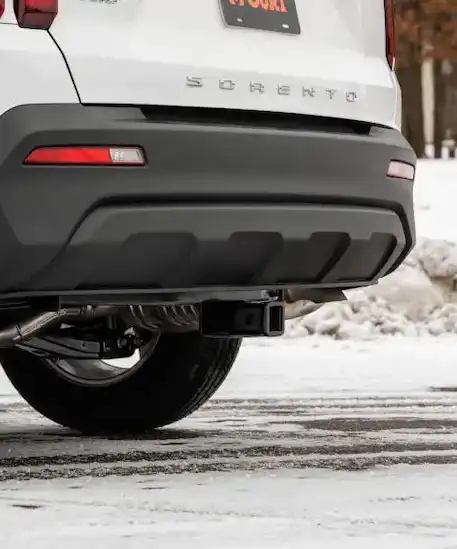
- Hitch racks are preferable because they are closer to the ground. This makes it easier to load your heavy e-bike compared to a roof rack.
- Consider how the rack holds the bike. It is preferable to use a platform rack for an e-bike rather than a hanging rack. A platform rack can accommodate various e-bike frame styles and support heavier weights.
- Look for a ramp option: Some racks include a ramp, or you can buy a ramp as an accessory. It makes loading much easier to simply roll your bike onto the rack. For ultimate load assistance, some of the premium-priced racks have a powered mechanism to hoist the bike on the rack. We recommend chatting with our Gear Guides to learn more about installation and vehicle set-up.
The Thule T2 Pro XTR, Thule EPOS carrier, Kuat Piston Pro X Bike Rack, and the Yakima StageTwo Bike Rack are all top choices.
Preparing your E-Bike
Before you think about loading your e-bike, you must ensure your bike is ready for transport. Here's what you should do:
- Check your e-bike's weight to ensure they are within the limits of your chosen bike rack. The rack's maximum weight per bike should be greater than the weight of any bike you carry.
- Secure the front wheel of your e-bike to prevent it from swaying during transit. However, this will depend on the style of the carrier - front wheel holder vs one that puts pressure on the tire from both sides so may not be relevant for your bike.
- Ensure your e-bike works with the bike rack and has any needed adapters or changes. We encourage doing a test fit prior to your travel date to ensure everything works properly. Some carriers will be easiest to use with light prep and placement of the connection points to the bike. Due to the unique nature of e-bike frames, if choosing a model that holds the frame, knowing where your bike best fits on the rack can ease loading and unloading.
- Removing the e-bike battery can also make loading easier. Stow the battery inside your vehicle to keep it warmer (good for battery life) and reduce the weight of your bike for lifting. Not all batteries can be removed, so always double-check your bike's manual before removing the battery.
Loading and Unloading Your E-Bike
Now, let's get down to loading and unloading your e-bike onto your bike rack.
- Put the bike rack at the back of your car and attach it securely to the hitch receiver.
- To lift your bike, first raise the front wheel onto the tray. Then, while moving the front wheel forward, lift the back wheel onto the tray. It can take a bit of practice. We recommend lifting your bike low on the frame/fork rather than attempting to hold it via the top tube or handle bars. This will allow you to have the bike at a higher level in order to rest the cycle into the cradles/trays.
- Most hitch racks have a rack-integrated cable lock to secure the bikes to the rack. As well, consider a chain lock or more secure lock option in addition to the rack provided cable lock. If needing a step further, you could use an auxiliary lock from a reliable lock company like ABUS or Kryptonite. Never leave bikes out overnight, always bring them indoors to avoid theft.
Safety Measures
Safety should always be a top priority when transporting your e-bike. Here are some essential safety measures to keep in mind:
- Maintain visibility by ensuring your bike rack doesn't obstruct your car's taillights or license plate. Chat with a Rack Attack gear guide to learn more about installation and accessories available. If this is a concern, look for an option that includes a tail light relay that will pass the signal to the rear end of the rack like the Kuat Piston Pro X, or the Thule Epos 2 with lights.
- Regularly check and tighten bike rack components to ensure they remain secure throughout your journey.
- Understand the weight limits and capacity of your rack and never exceed them.
Hitting the Road
With your e-bike securely attached, it's time to hit the road and embark on your adventure. Here are some tips for a smooth journey:
- Drive cautiously, especially when navigating corners and speed bumps.
- Monitor your e-bike during transit through your rearview mirrors to ensure it stays in place.
- Make necessary stops to check your e-bike's status, particularly if traveling long distances.
- When you reach your destination, follow the proper steps to unload your e-bike safely.
